Cyclone How To Had Tension To Awning

Tension Rod Ideas Exterior Industrial With Overhang Contemporary Mailboxes Porch Canopy Front Door Landscaping Garage Door Styles
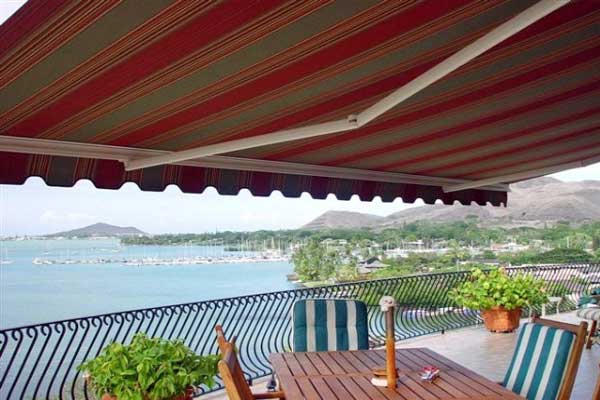
Guide To Wind Resistant Awnings

Shade Sails And Tension Structures Shade Sails Patio Backyard Shade Pool Shade
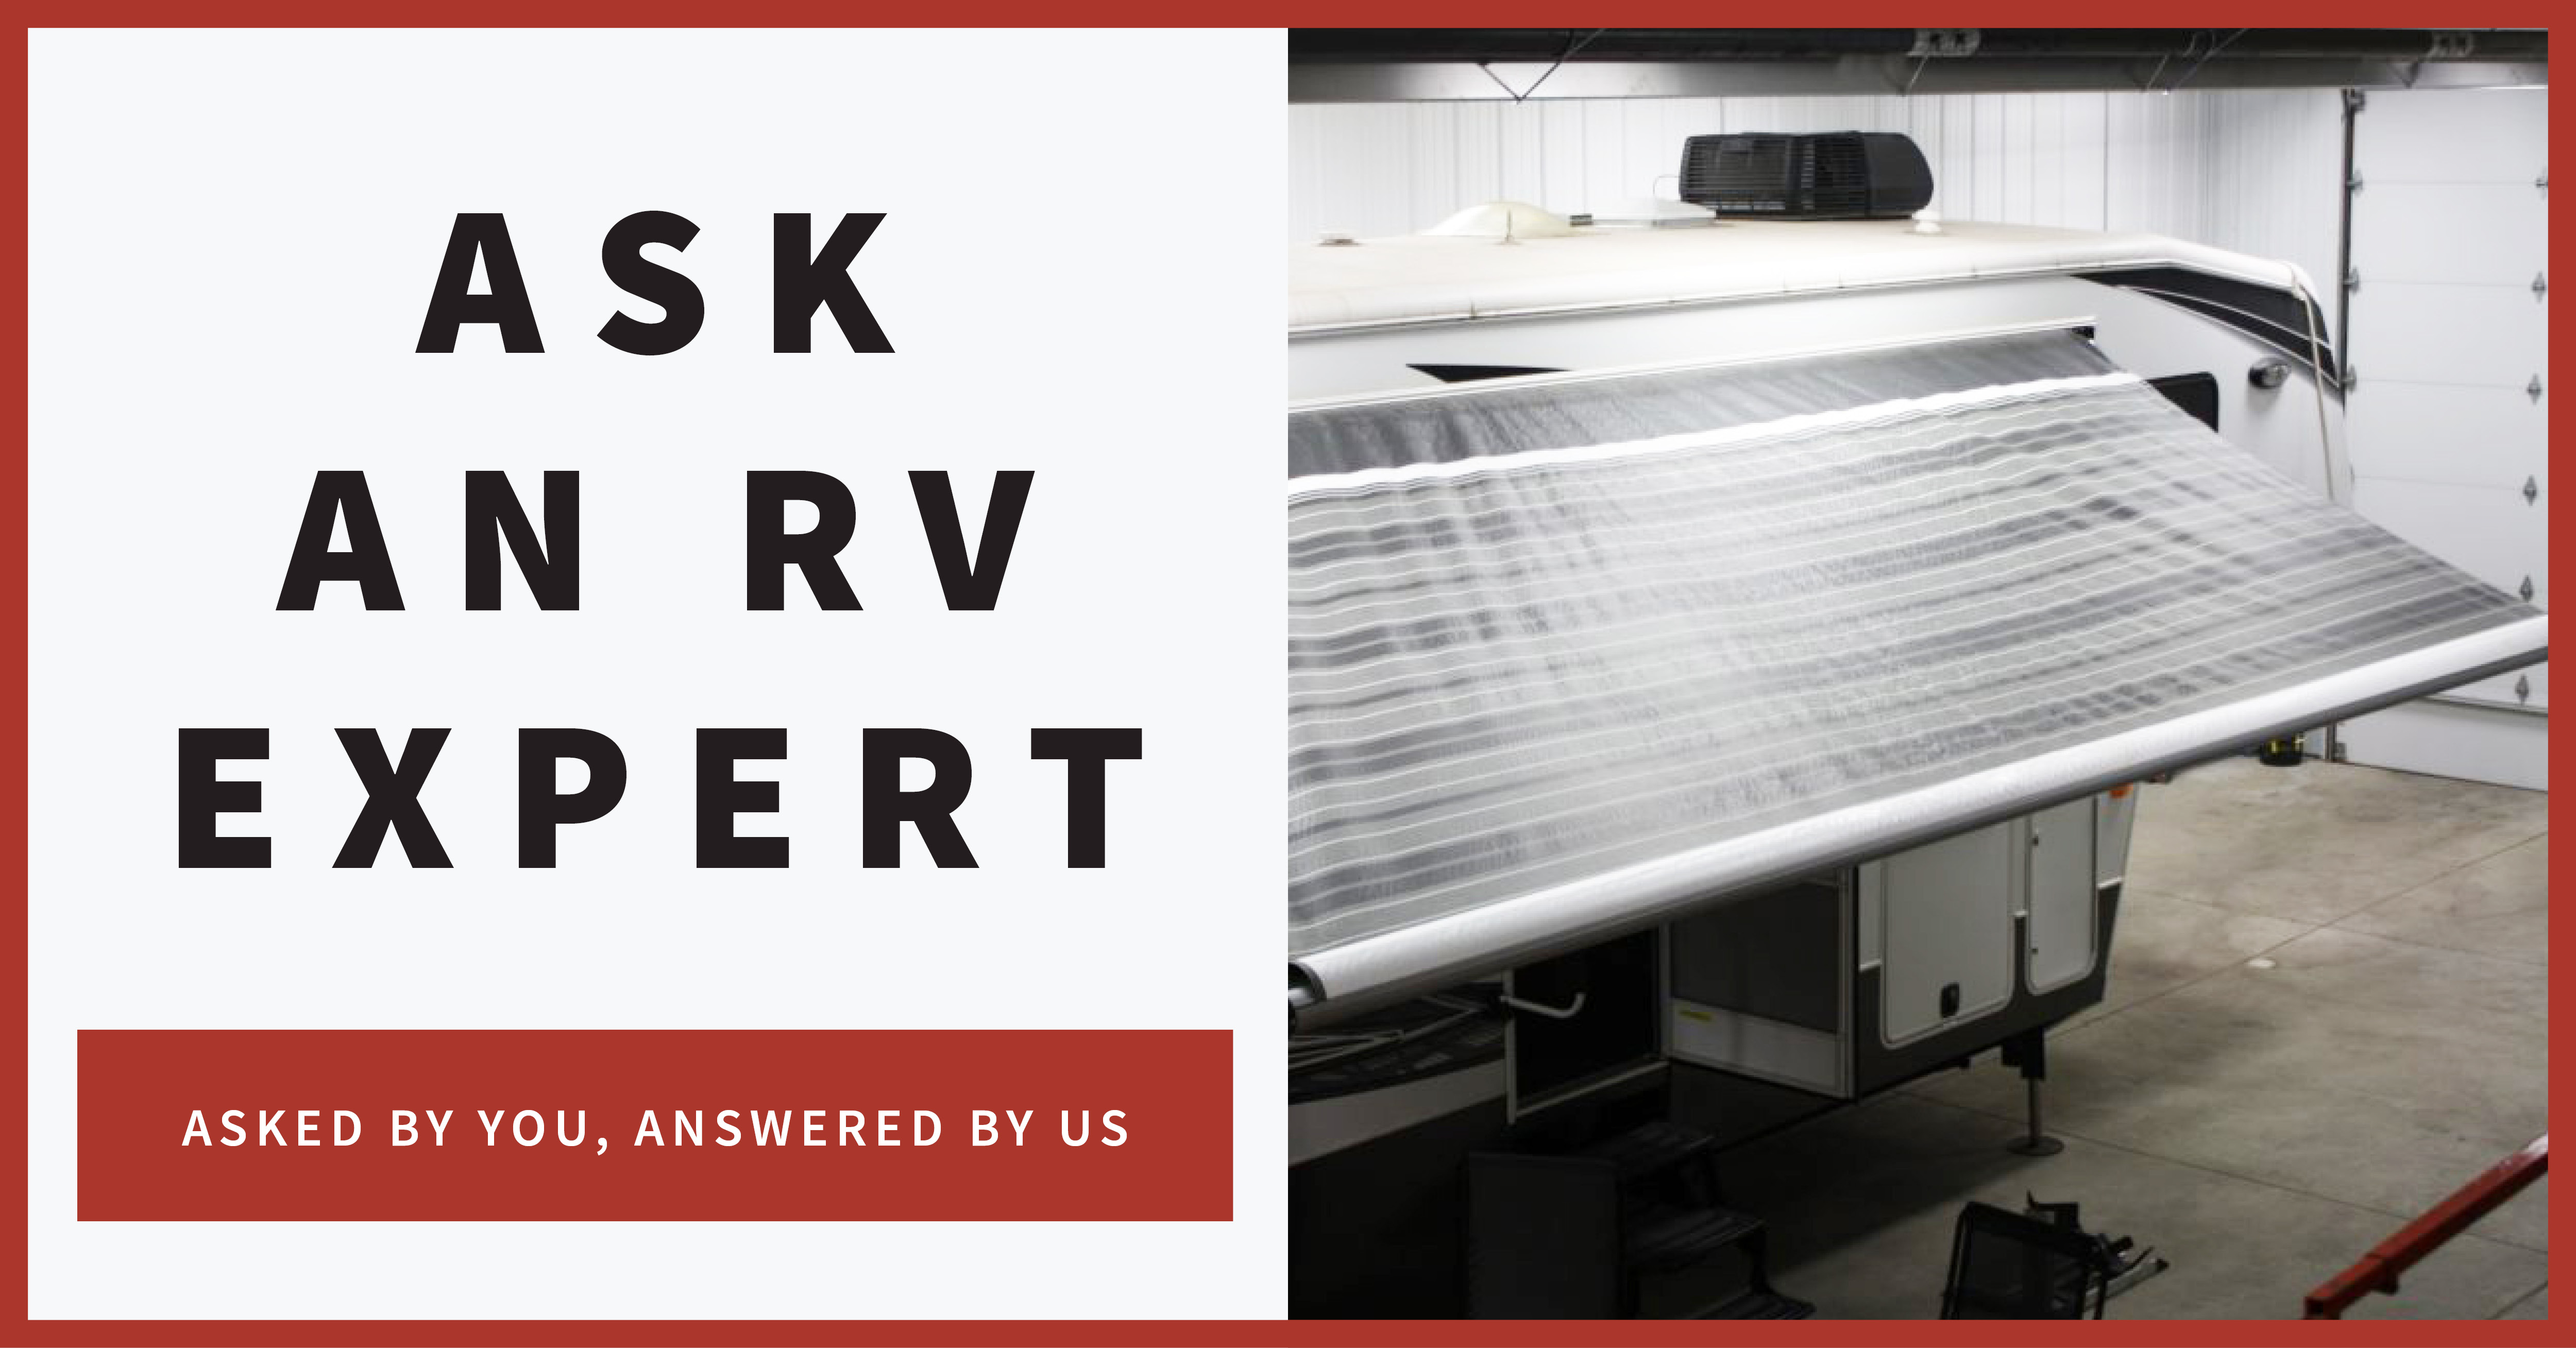
What To Do When An Awning Won T Go In Rv Repair Club Q A

Experts In The Field Of Fabric Architecture Residential Awnings Architecture Porch Patio

Bedroom Inspiring Images About Awning Ideas Window Canopy Wood Door Cbebccbebdefb Designs Small Kit Diy Over Faux Front Build House Awnings Diy Awning Pergola

Adjust awning tension adjust spring tension rv awning how to adjust the tension on an rv awning awning tighting adjustments how to adjust spring tension on rv awning rv awning tension loose adjust rv awning spring rv awning spring tension.
Cyclone how to had tension to awning.

Flexy 8ft Deepseries Commercial Freestanding Retractable Awning Tilting Canopy Flexy8 Large Patio Umbrellas Cantilever Patio Umbrella Patio Shade

Ac1000 Pan Type Window And Door Awning In 2020 Door Awnings Awning Aluminum Window Awnings

Choosing Your Patio Roof Gable Roof Atlas Awnings

Pin By Jonathan Sim On Canopy Design Pergola Pergola Canopy Canopy Outdoor

Ti Tensile Structures Manufacturers World Class Tensile Membrane Awning Car Parking Shades Entrance Tensile Stru Tensile Structures Shade Sail Outdoor Shade

Tension Membrane Carport Steel Carport Fabric Carport Sunshield Shelter Cantilever Carport Carport Designs Car Porch Design

Automatic Fabric Awings Adjustable External Window Awnings

Pool Shade Ideas Cantilevered Pool Shade Pool Canopy Patio Shade

25 Crazy Creative Uses For Tension Rods Kitchen Window Treatments Home House

Deck Shade Structure Fabric Shade Tension Structure College Patio Arquitectura Textil Membranas Arquitectonicas Estructura Arquitectura

Shadesail1 Jpg 575 432 Pixels Sun Sail Shade Shade Sail Shade Sails Diy

Window Awnings Kestrel Shutters Doors Blog Shutters Exterior Diy Awning Windows Exterior

Shade Sails And Tension Structures Superior Awning On Structure And Poles Shade Sails Patio Pergola Shade Shade Sail

Sheds Amp Shelters Miri Piri Group Tensile Structures Car Shed Car Shelter Cantilever Carport

Kitchen Window Awning Http Musingsfromafrenchcottage Blogspot Com 2011 08 Window Awning Tutorial Html M 1 Kitchen Window Treatments Home Diy Awning

Bahama Colonial Shutters Shutters Exterior Bahama Shutters Outdoor Shutters

Create An Awning In 4 Easy Steps Classroom Bulletin Boards Preschool Bulletin Boards Kids Bulletin Boards

Pin By Elizabeth Seeger On Color Theory Diy Shutters Hurricane Shutters Window Shutters Diy
Https Encrypted Tbn0 Gstatic Com Images Q Tbn 3aand9gcrb1d Qbo4ql1rcdlqm7jdvgge Dthbbvkhazebuwkmqku9duxg Usqp Cau

Musings From A French Cottage Tension Rod Home French Cottage Living Room

Back Porch Awning Custom Awnings Deck Shade Patio

Ti Tensile Structures Manufacturers World Class Tensile Structures Which Are Light In Weight Because The Tensile Structures Carport Designs Membrane Structure

Porch Canopy Build Final Installation On The House Youtube

This Basketball Court Shade Canopy Building Design Dome Tent Shade Sail
Source : pinterest.com
